Envira Gallery is the most versatile and comprehensive gallery plugin for WordPress that enables you to insert beautiful image galleries in your WordPress website.
Envira Gallery plugin allows you to create responsive gallery right out of the box.
Main Features of Envira Gallery Plugin are:
- Create galleries within your post or page.
- Create global galleries that can be used anywhere.
- Incredibly lightweight plugin without sacrificing its features.
- Number of options available to display your galleries like responsive gallery, thumbnail gallery, slider gallery etc.
How to Create Galleries with Envira Gallery Plugin?
Step 1: Install Envira Gallery Plugin
Envira Gallery is available in both free and premium versions. In this article we’ll create gallery with free version of the plugin- Envira Gallery Lite. You’ll need to install and activate the plugin on your WordPress website. See our WordPress Guide on how to install a plugin in WordPress.
Step 2: Creating the Gallery
Upon Activation the plugin will add new Envira Gallery menu in your WordPress admin sidebar like below screenshot:

Creating a gallery with the free and premium version of the plugin is super-easy. Click on Envira gallery menu in your WordPress admin sidebar. You’ll reach to the Envira library page. Since you freshly installed the plugin, click on Add New option to create a new gallery.
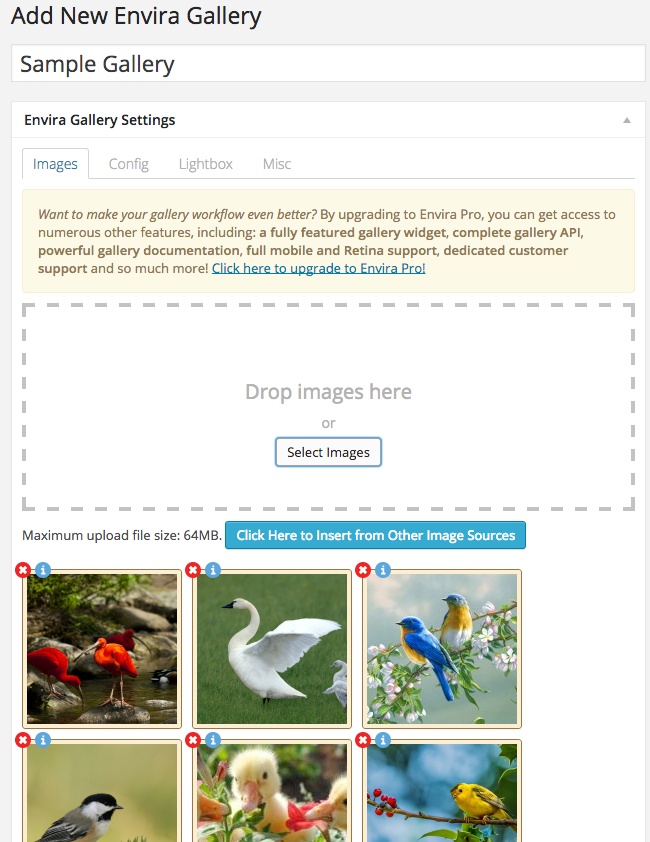
First thing you need to give title to your Gallery in Add New Envira gallery section. You can select images from your computer and upload it. There is another option of selecting images from other source. With this option you can select images from the media gallery of your website.
After selecting images you can rearrange them by using drag and drop feature. There are some other settings also through which you can configure or edit the images uploaded on your gallery.
Step 3: Config Setting
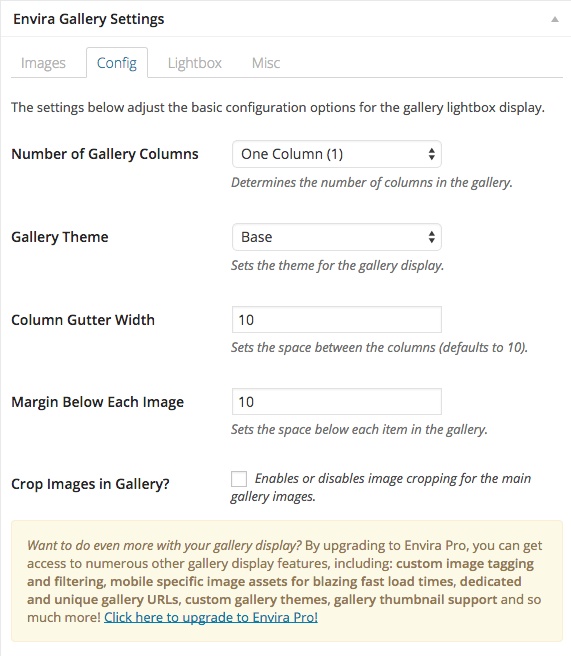
There are number of options in this section like:
- Number of Gallery Columns: In this option you can define the columns you want in your gallery. You can change the number as per your requirement.
- Gallery theme: With this option you can set the theme of your gallery you want to display.
- Column Gutter Width: How much space you want between the columns of your gallery, you can set with the help of this option.
- Margin Below Each Image: This option sets the space below each image.
- Crop Images in Gallery: If you want to crop any image in your gallery, you can crop it with the help of this option.
Step 4: Lightbox
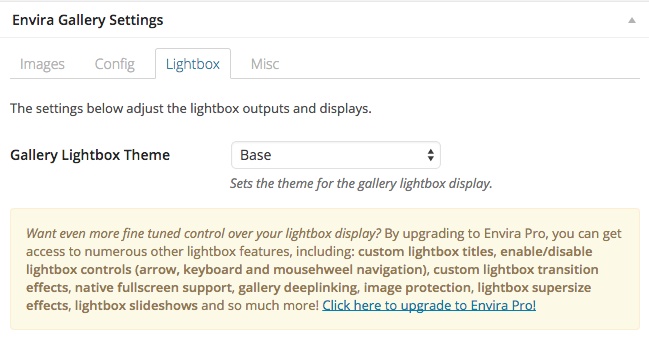
If you’re using free version of the plugin then lightbox settings are limited to the base theme. If you’re using premium version of the plugin then you’ve full control over lightbox settings and upgrade it with different ad-ons.
Step 5: Other Settings
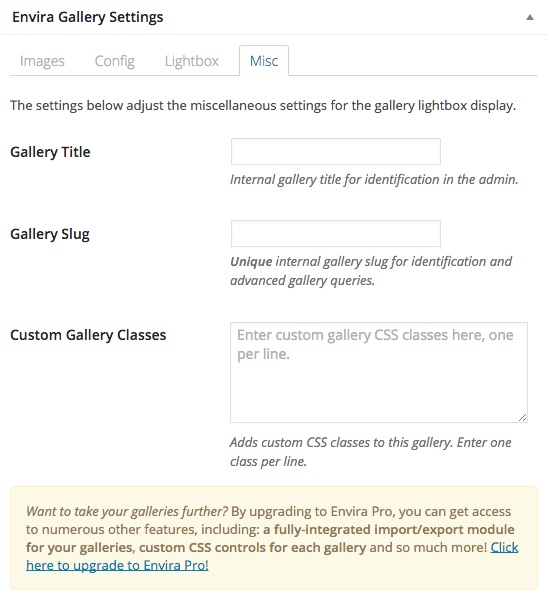
There are some miscellaneous settings available with this plugin which you can use while working with the plugin. You’ll find number of option like:
- Gallery Title: In this section you can give title to your gallery for the identification of admin.
- Gallery slug: You can also add slug for identification and advanced gallery queries.
- Custom gallery CSS: You can add your own custom CSS to the gallery.
If you’re using premium version of Envira Gallery plugin then there is one more option to import or export the galleries. Once you’re satisfied with your gallery, click on Publish button.
Step 6: Adding Gallery in Post/Page
You can add gallery to your post/page in two ways: Using shortcode and Add Gallery button.
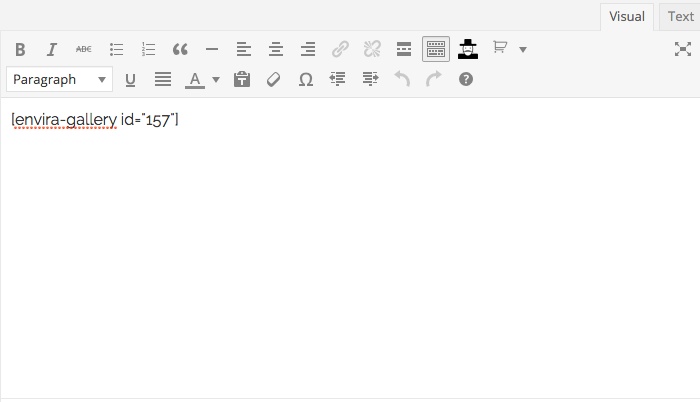
Using Shortcode
Once you published the gallery, a shortcode of the gallery is generated. Simply copy and paste the shortcode in your post like below screenshot:
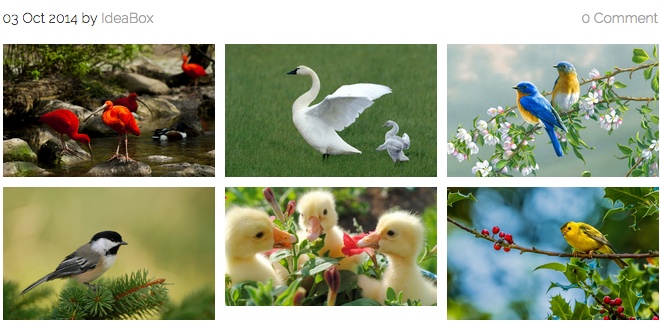
Upon adding the shortcode in your post, click on publish button to publish the post. You’ll see the final result like this:
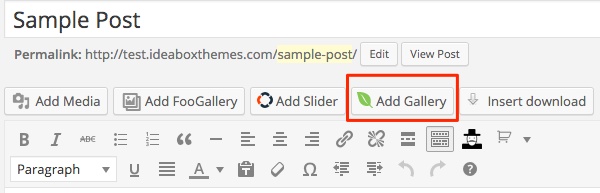
Using Add gallery Button
Once you installed the plugin, Add Gallery button is added to your post editor like below screenshot:
Click on Add Gallery button. Once you clicked on Add Gallery Button, a window will open where you’ve to select the gallery you want to add in your post or page.
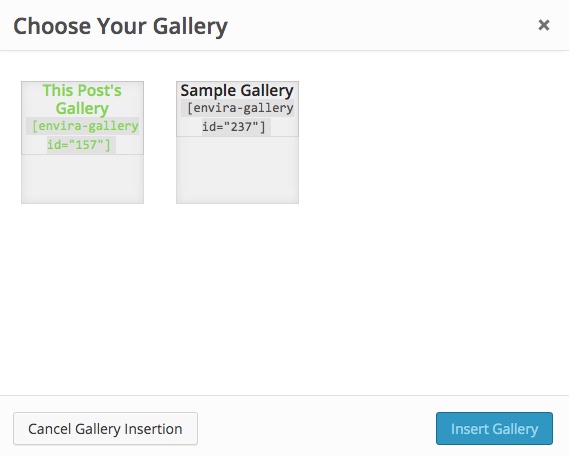
Once you select the gallery you want to add, click on Insert gallery button. This will add the shortcode of gallery in your post editor. Now publish the post.
Final Thoughts
Envira is a powerful and easy to use gallery plugin. The lite version is good for creating basic responsive galleries. Premium version comes with much more features like:
- Addons to extend and enhance the functionality.
- Creates unlimited galleries in your WordPress website.
- Import/Export feature to move your galleries from one site to another site.
- Create multiple galleries on the same page without any conflict.
- Load your galleries fast.
Get Envira Gallery (Premium)