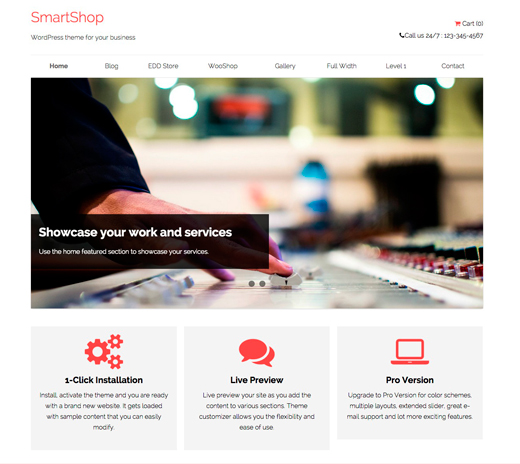
SmartShop is a versatile e-commerce theme purposely designed to build an engaging e-commerce website.
The theme provides you complete solution to build a sophisticated online store where you can sell your digital and tangible products systematically.
SmartShop is well integrated with WooCommerce and Easy Digital Downloads plugins. The theme is perfectly fit for your online and offline business sites. You can select any plugin of your choice.
Main Features of SmartShop WordPress theme are:
- Mobile Responsive WordPress theme.
- Unlimited color schemes.
- Support and styling for WooCommerce and Easy Digital Downloads plugins.
- Multiple layout options.
- Featured products on home page.
You can see full feature list of SmartShop theme here.
How to install and activate SmartShop?
Since SmartShop Pro is a premium WordPress theme, you need to buy the theme. You can purchase the theme from here.
Once you’ve purchased the theme upload the theme on your WordPress website and activate it. For more details on uploading and activating a WordPress theme, check how to install themes on WordPress.
How to Customize SmartShop theme?
The theme adapts unique live customization feature which makes the customization process super easy. You can see all the changes made in real time.
Home Page Customization
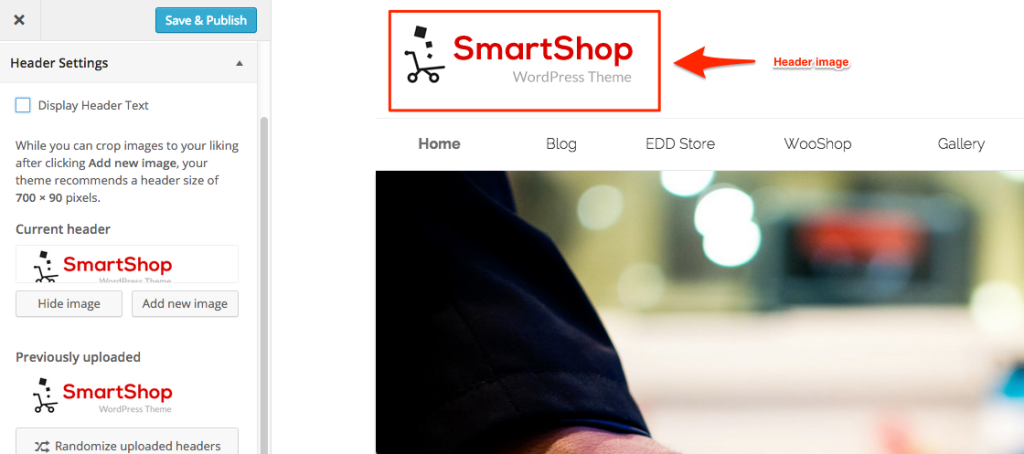
1. Site Title and Header Settings
Enter your site title and tagline in the header section of the your home page. You can also add logo of your business in the header section .
The header image will look like below screenshot:
2. Theme layout and Color
Select any layout from the given two options: Boxed or Full width. You can also add background image if you will select Boxed layout.
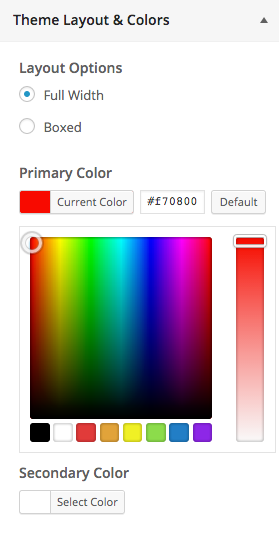
There are wide range of color options available. Select the color from color picker that suits your business identity.
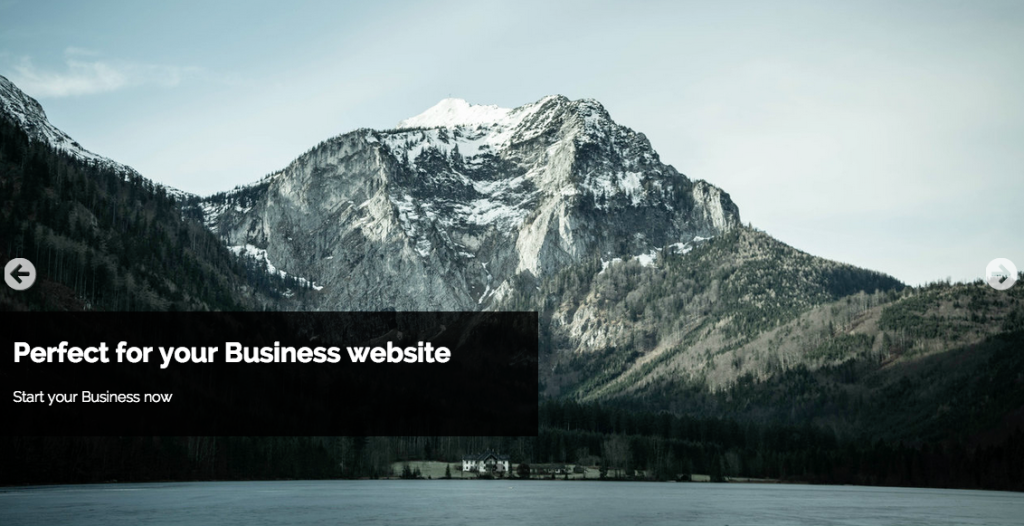
3. Home Slider
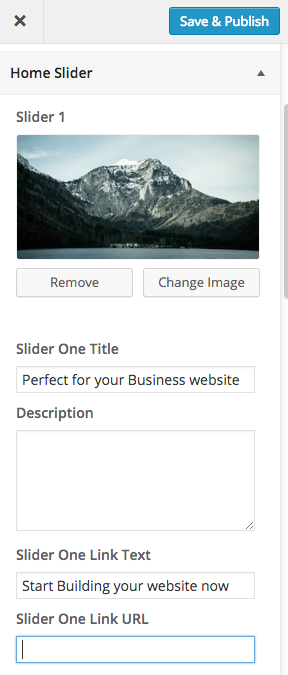
To add slider on the home page of the screen, select image, add title, description, link text and link URL to Home slider section like above screenshot. You can add maximum 5 images in the slider.
You’ll see the result like below screenshot:
4. Home Featured
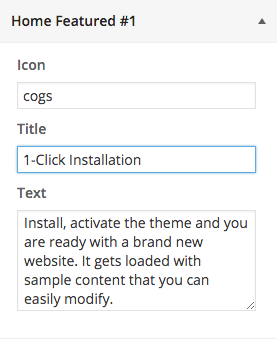
To display your services on the home page, enter the name of font awesome icon that suits your service. Simply add the name of icon you want to display.
Note: There is no need to add fa- with icons name.
You’ll see the result like below screenshot:

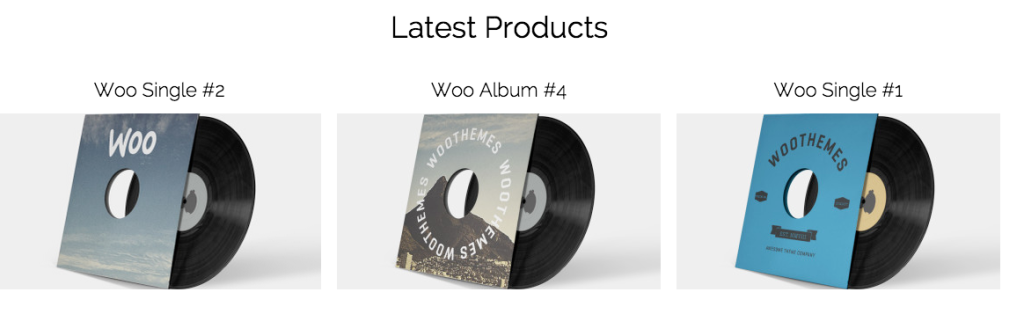
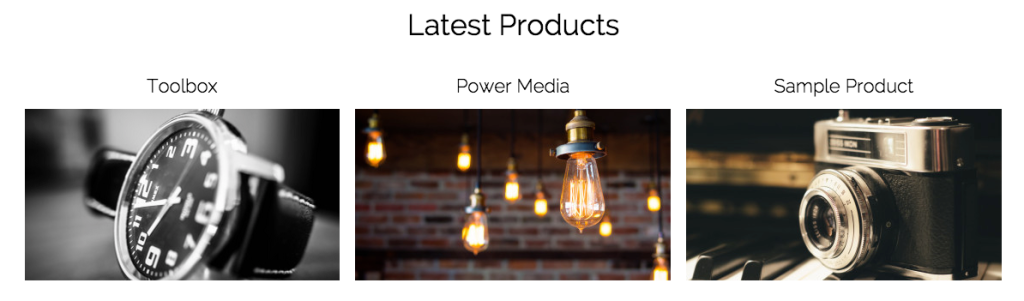
5. Products on Front page
This option is used to display WooCommerce products on the home page of your website.
Simply activate the WooCommerce plugin. Enter the title, number of products, featured product description (if you want to) like above screenshot.
Note: This option is always there whether you activate the plugin or not.
You’ll see the result like below screenshot:
6. Home CTA
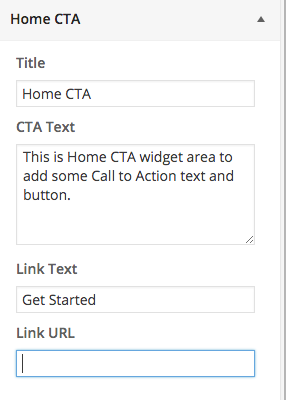
Simply add the text that provokes your customers for intermediate response. Add title, CTA text, Link Text, and Link URL and see the result like below screenshot:

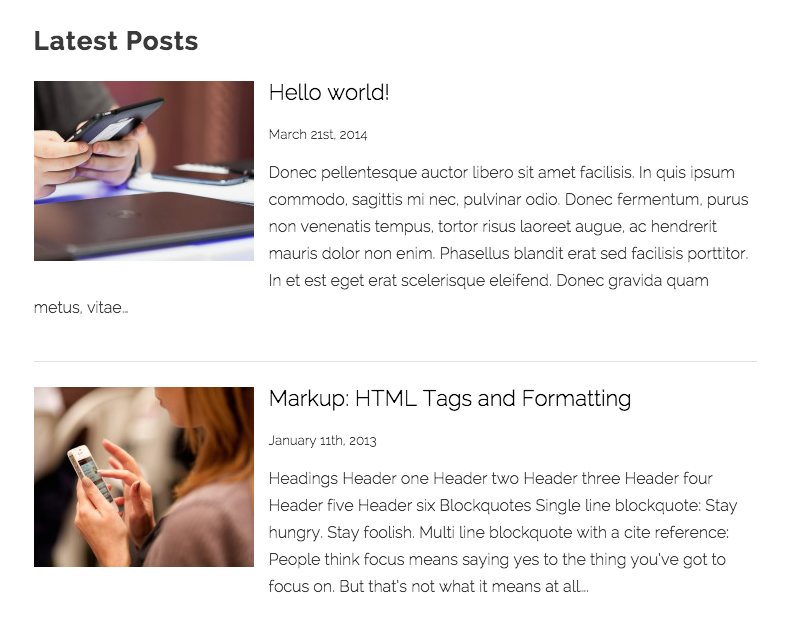
7. Featured Posts
Enter the title of this section and number of posts you want to display on home page of your website. You can also Read more text and link it to that post.
You’ll see the result like below screenshot:
8. Easy Digital Downloads
To display digital products (or products of EDD plugin), you will use this section.
You’ll see this section when EDD plugin is activated on your website. Enter the number of products, Featured products title and description.
Note: If you deactivate EDD plugin, this section will disappear from your customizer.
You’ll see the result like below screenshot:
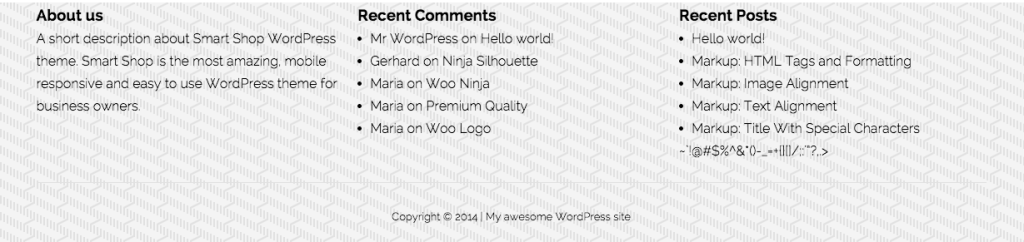
9. Widgets and Footer text
There are three different widgets: Header widget, Home Sidebar and Footer widget. Simply click on Add widget button to add the widgets on your website.
Add copyright text into Footer text section that will display like below screenshot:
Once you’re done will all the settings, click on Save and Publish button.
SmartShop Shop Page
To create a Shop page on your website, either WooCommerce or EDD plugin is compulsorily installed on your website.
When you installed WooCommerce plugin, there is an option to install WooCommerce pages. Click there and install all the pages.
When you installed EDD plugin, you have to select the template on the page where you want to display the products. As you can see in above screenshot, we select template store on Shop page.
This will select EDD shop page on your website. To select WooCommerce shop page, you only need to activate the plugin. There is no to select the template.
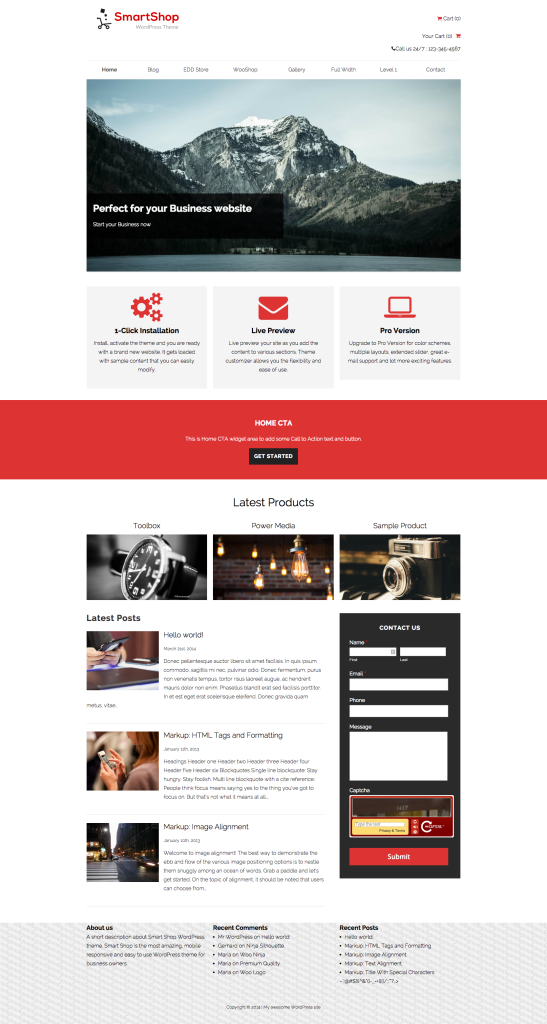
The final look of your website will look like below screenshot:
If you’ve any queries related to theme or this tutorial, feel free to ask via support page or comment section below.