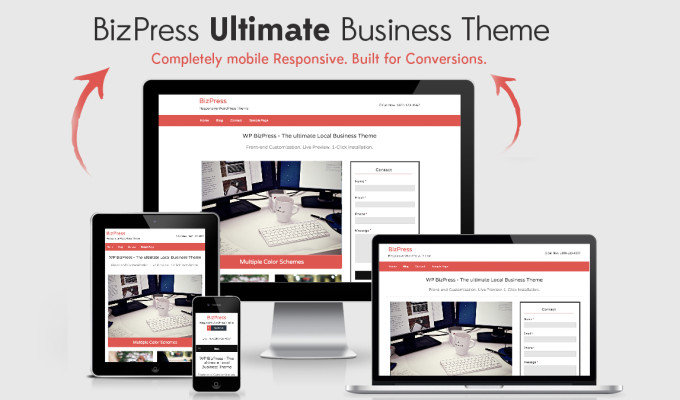
BizPress is our new premium WordPress theme developed for people who are running local business like Yoga classes, taxi service, beauty salon, dental care etc. The theme has been designed to be completely responsive and displayed on every kind of devices. The theme allows you to build a versatile and completely customizable local business website.
Some of the important features of BizPress theme are:
- Fully Responsive Theme.
- Live Customization.
- Multiple color scheme.
- 1-click install.
- Header image upload.
- Home Slider
- Testimonial to build trust and more
You can see the full feature list of BizPress Theme from here.
In this tutorial we’ll cover each and every feature to make you understand about how to customize BizPress Theme on your business website.
How to install BizPress Theme?
Since BizPress is a premium theme, you will need to purchase this theme. You can purchase it from here.
Once you purchased the theme you can download it and upload it to your website. Now, install and activate the theme.
Setup a static front page
BizPress WordPress theme uses a static front page. To setup the theme as in demo site this is the only step you need to perform.
- Create and publish a page as “Home” page
- Create and publish another page as “Blog” page
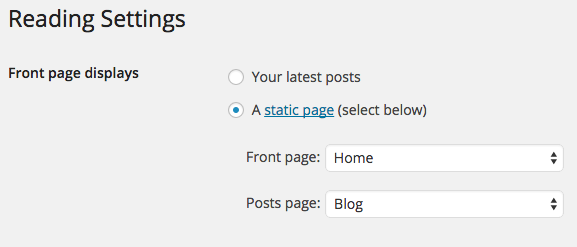
- Now go to Settings > Reading
- Select Front Page displays : A Static Page (select below)
- Now select the Home and Blog page as shown in the screenshot below and click the blue Save Changes button.
How to customize BizPress theme?
BizPress theme is the combination of elegance and simplicity. The theme has been designed to be easy to use for everyone. There is no need of any hard core technical knowledge and web designing. To customize BizPress theme click on Appearance >> Customize. You’ll see a sidebar panel on the left side of your website like this: 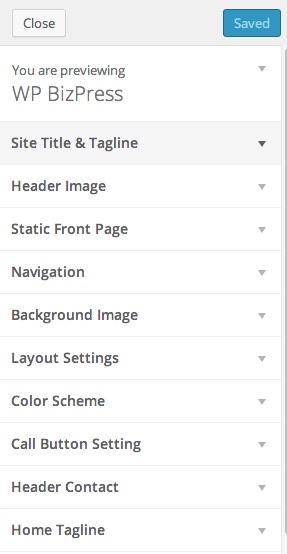 All the available options are displayed in this sidebar panel. The theme has an excellent Live Customization feature that allows you to easily customize every property of theme with an easy and intuitive point and click interface. If you make any changes to your BizPress WordPress theme, it will be visible on your website simultaneously.
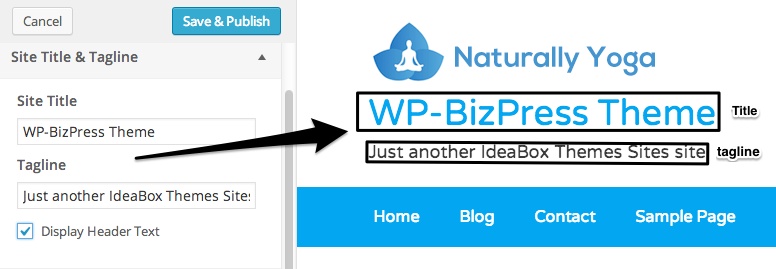
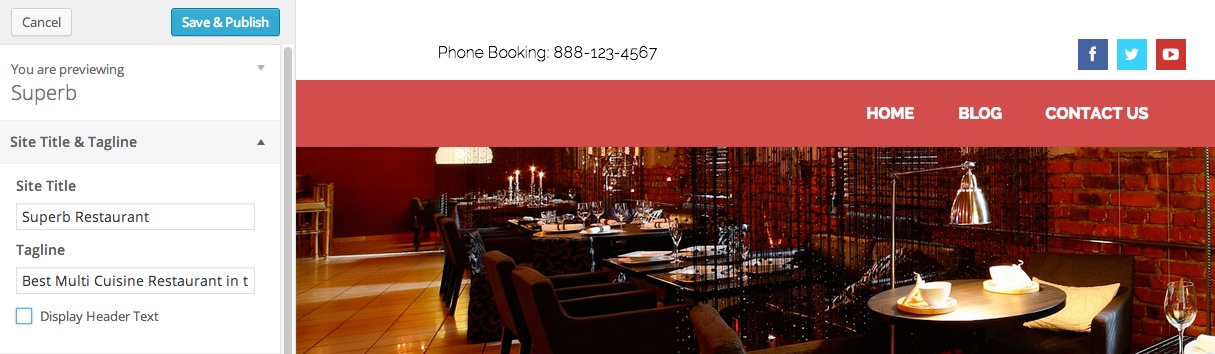
1. Site Title and Tagline
In this section you’ll give title and tagline to your website. You can set title and tagline according to your website. These Title and tagline will display on your website like below screenshot:
 If you don’t want to display title and tagline on your website then you can simply uncheck Display Header Text option. Once you unchecked this option you’ll see the result like below screenshot:
2. Header Image
If you want to set a logo or any other image in the header section of your website then you can do this with the help of Header Image option.
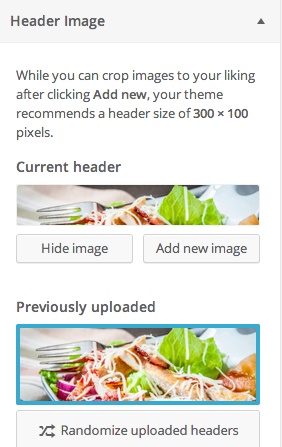 When you click on the Add new image button, a pop window will appear from where you can select or upload the thumbnail of your choice. If you want to crop the selected image, you can crop it by clicking on Select and Crop button at the bottom right corner of the pop up window. The final result will look like this:
3. Navigation
In this section you can select a menu that you would like to use on your page. If you want to edit your menu simply navigate to Appearance >> Menus.
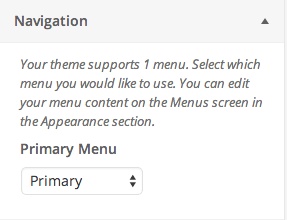
Also check: How to create menus in WordPress?
4. Background Image
In this section you can set the background image on your website by uploading or selecting it from your computer or you can also drag it to this section. This option will work when your theme layout is set to Boxed.

5. Layout settings
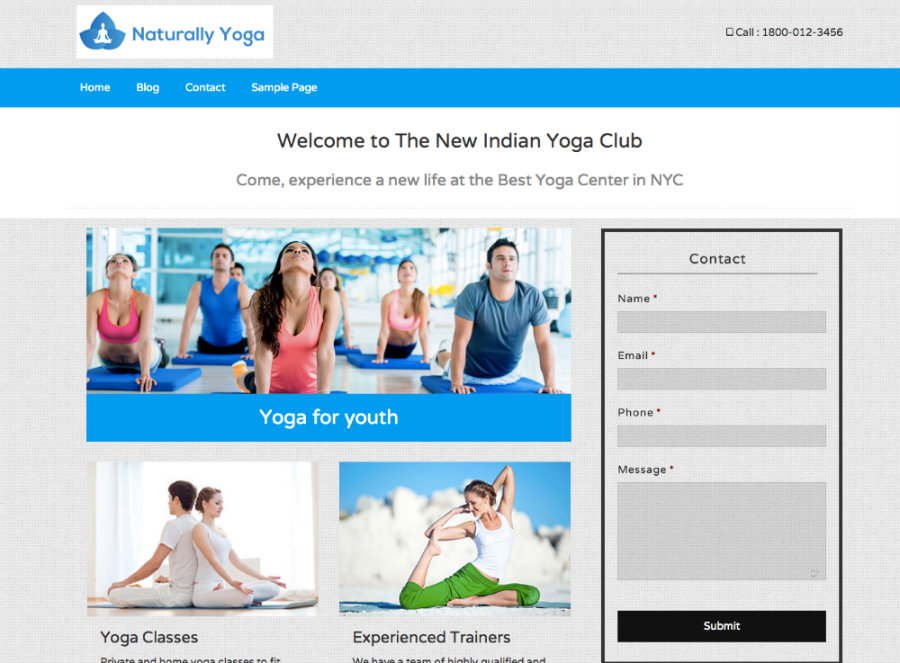
There are two options available in this section to set the layout of your theme: Boxed and Full width. If you select Boxed as your theme layout, your website will look like below screenshot:
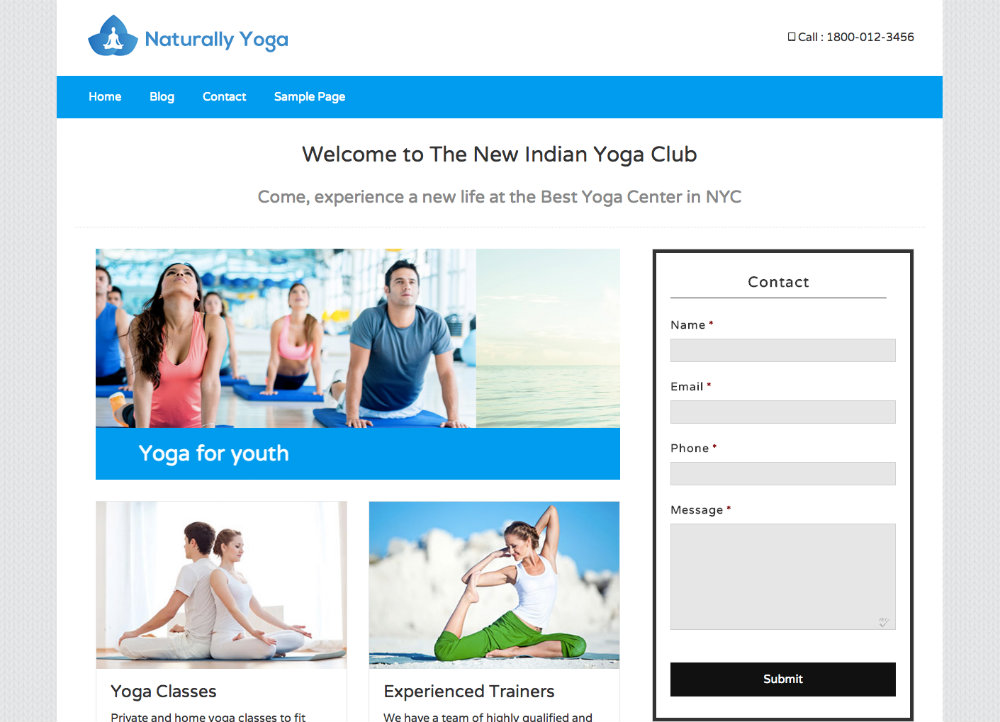
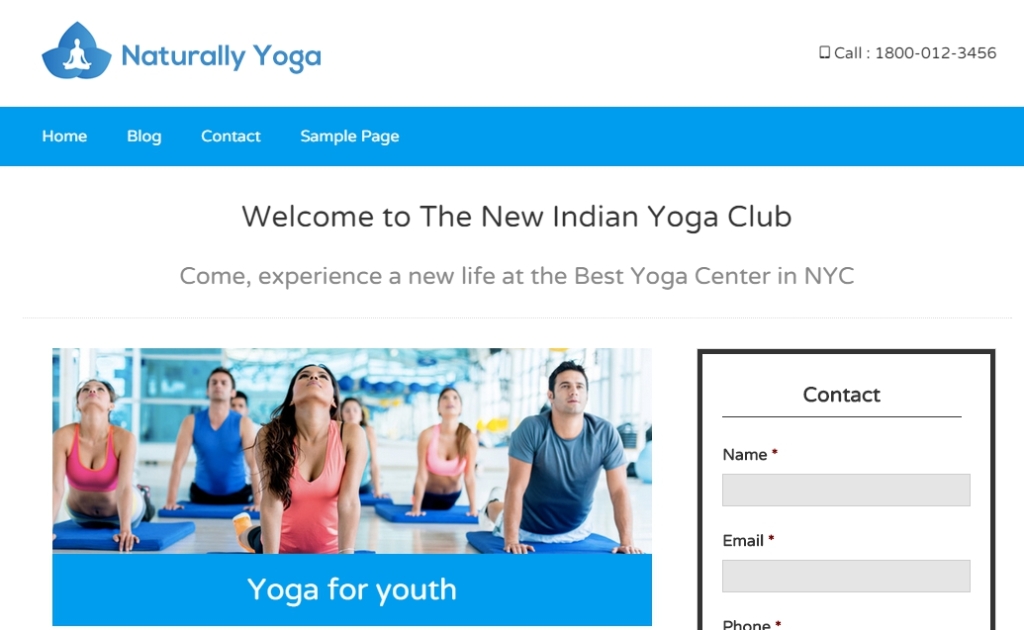
If you select a Full width option then your website will look like below screenshot:
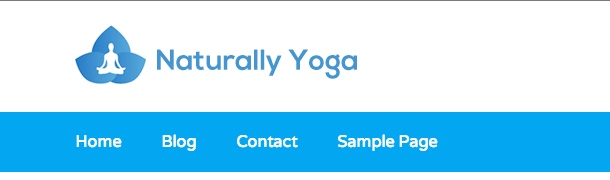
6. Color Scheme
There are 8 color options available like blue, red, green, yellow etc. You can select any of these color that suits your website and give professional look to your website. You can see in the screenshot below, we select blue color for our website:
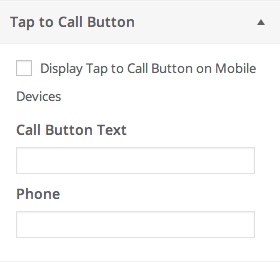
7. Call Button Setting

This is option is mainly designed for mobile devices. In this section you’ll set Call Button Text and phone number. You can give any text and this text will display on your mobile devices. Once you set this you’ll see result like below screenshot:
8. Header contact
You can add the contact details on your website which will be displayed in the header section of the website. In this section you can add your contact number and address. You can write either simple text or HTML tags in this section.
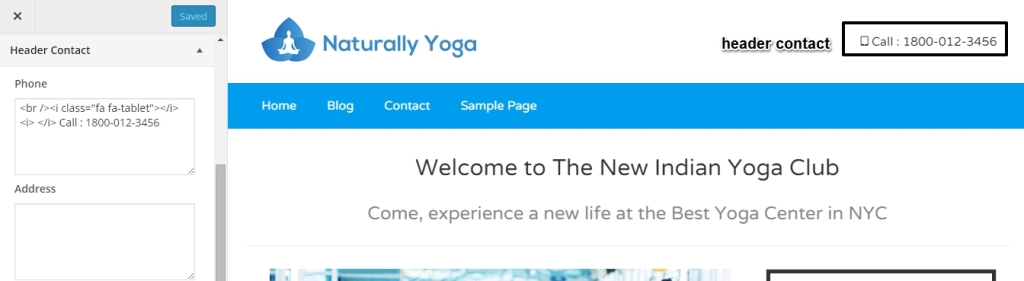 Note: If you enter any HTML tag then the result to the corresponding tag will display when you save your settings and close the sidebar.
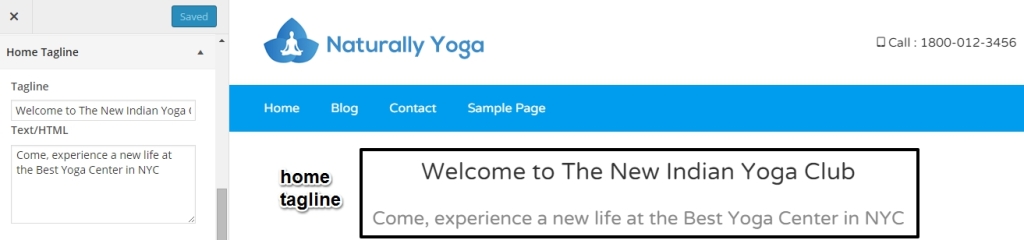
9. Home Tagline
You can also give short description of your website with Home Tagline option. Simply add a tagline and short text related to your website and save the changes. You can add HTML tags or simple text in this section.
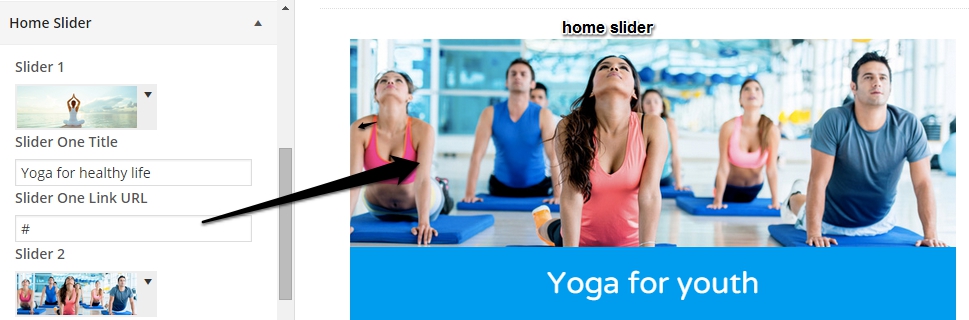
10. Home Slider
You can also add slider on the home page of your website with Home slider option. This theme allows you to add maximum 5 images in the slider. You can add the title and link of the images in the slider.
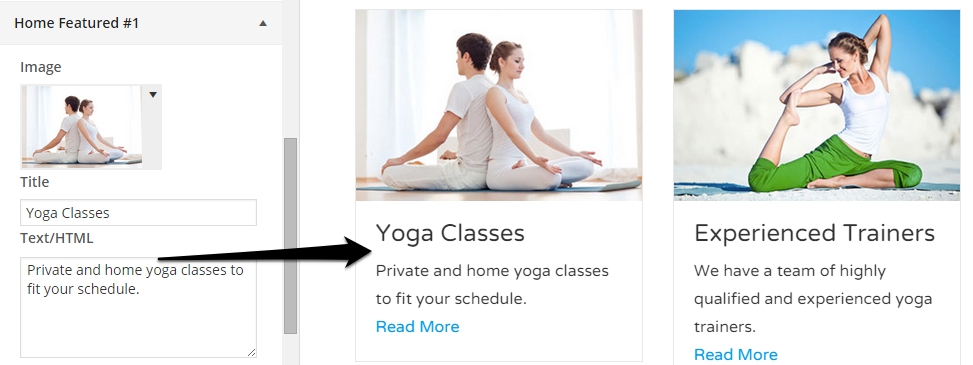
11. Home Featured
In this section you can add featured image on the home page of your website to tell user about your products and services. The theme allows you to add maximum 4 featured images. You can also add title, description (Text / HTML), link text and link URL to your featured images.
12. Testimonial Settings
This section displays reviews of the customer about your products and services. You can add the title of testimonial, client name, client’s image and the description about what your client say. You can also add the URL to connect with the client.
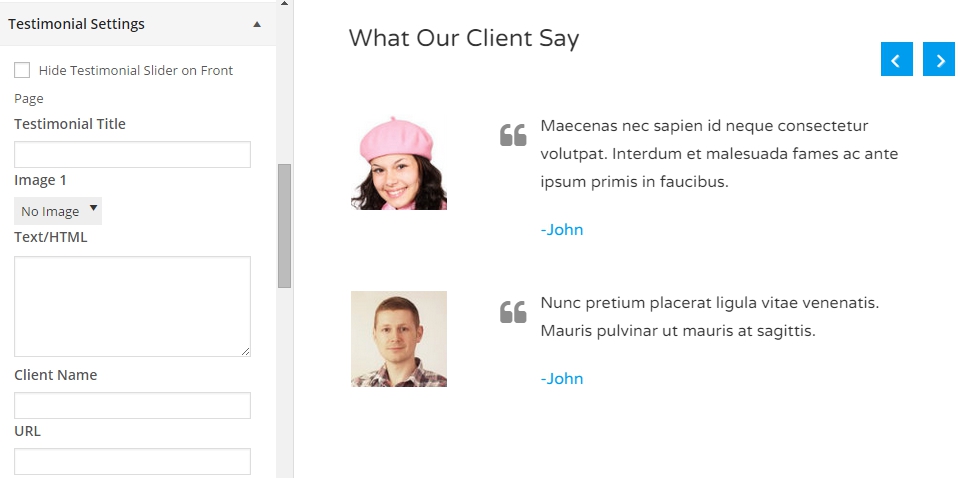
The theme allows you to add maximum 4 reviews on the home page of your website. You can also hide this section by check in the Hide Testimonial Slider on Front option. These testimonials will be displayed in the form of slider.
13. CTA settings
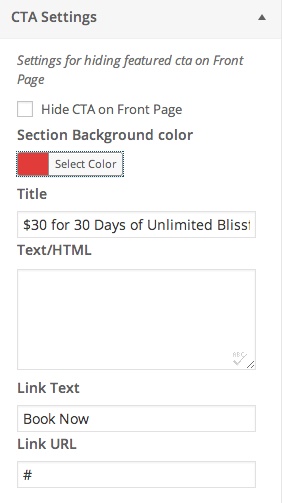
In this section you can add any text to provoke your customers for an intermediate response. You can add background color for the CTA section, title, text or HTML tags, link text and link URL of your choice.

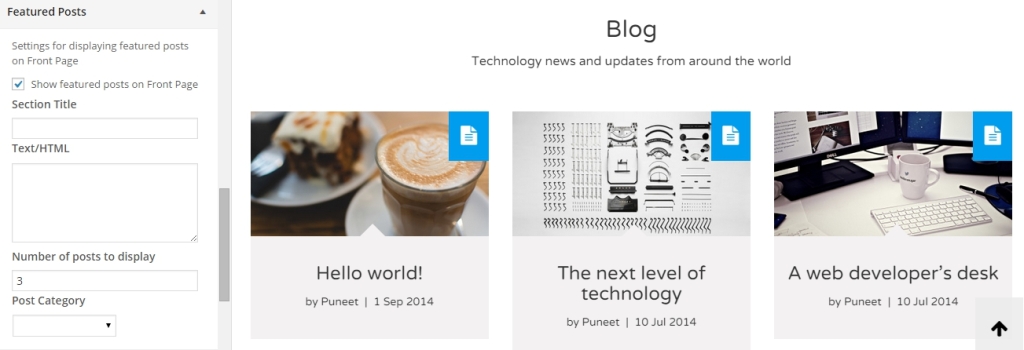
14. Featured Posts
In this section you can also add some posts on the home page of your website with the help of Featured posts option. Simply give title to the section and add the number of posts you want to display on the home page.
You can also display your featured posts category wise. If you want to hide this option then simply unchecked the Show Featured posts on the front page option.
15. Home Contact
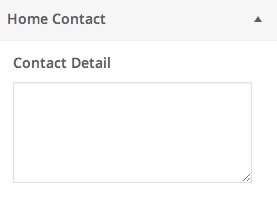
You can add the contact details on the home page. Simply add the contact details in the Contact Detail box and save the changes.

16. Social Icons
![]()
You can add various social icons on the home page of your website. The theme offers you various options of social sites like Facebook, YouTube, Twitter, Google Plus, Pinterest, Github, Tumblr and more. Simply enter the URL of the social site in their respective section and save them.
Once you saved the settings, you’ll see the result like below screenshot:
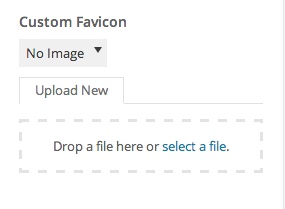
 17. Custom Favicon
In this section you can add custom favicon to give more professional look to your website. Simply upload a thumbnail and save it. This will add custom favicon to your website.
18. Tracking Code
In this section you can add tracking code to generate the statistics of website’s traffic and traffic sources. This will tell you who is visiting your site and what’s happening on your site.
![]()
19. Footer Text
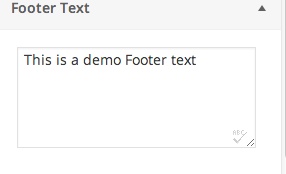
In this section you can add any text that will display in the footer section on the home page of your website. Simply add the text in the given area and you’ll see result like below screenshot:

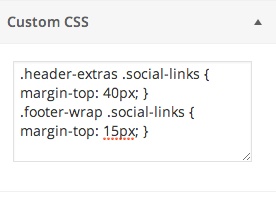
20. Custom CSS
If you’ve a bit knowledge about CSS then you can change the styling of any section by adding your CSS code.
21. Widgets: Home Sidebar 1
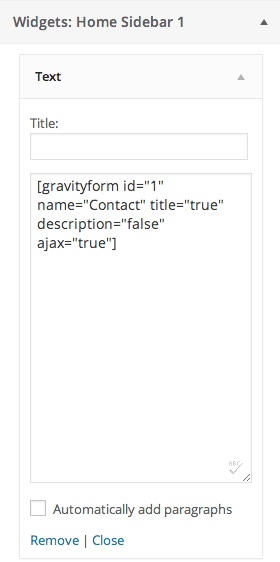
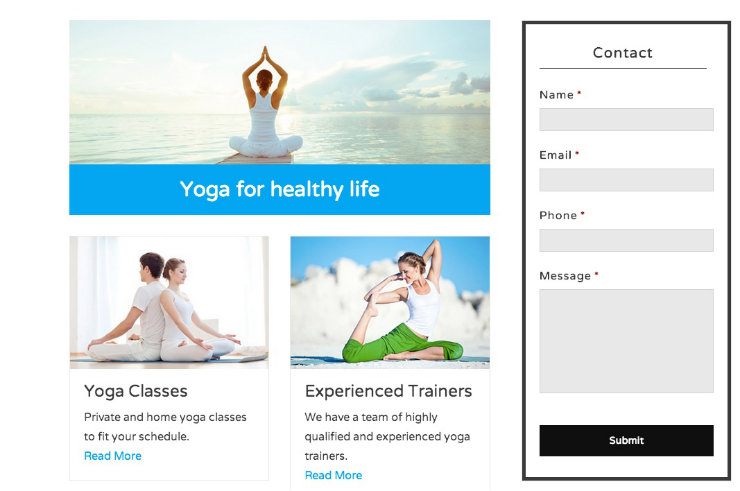
In this you’ll be able to add any widget at the left sidebar of the home page. To add any widget in this section, click on +Add a widget button and save the settings. We add contact form in this section and it looks like this:
22. Widgets: Footer
You can add any widget tot he footer section to take complete control of it. You can add maximum 4 widgets in the footer section.

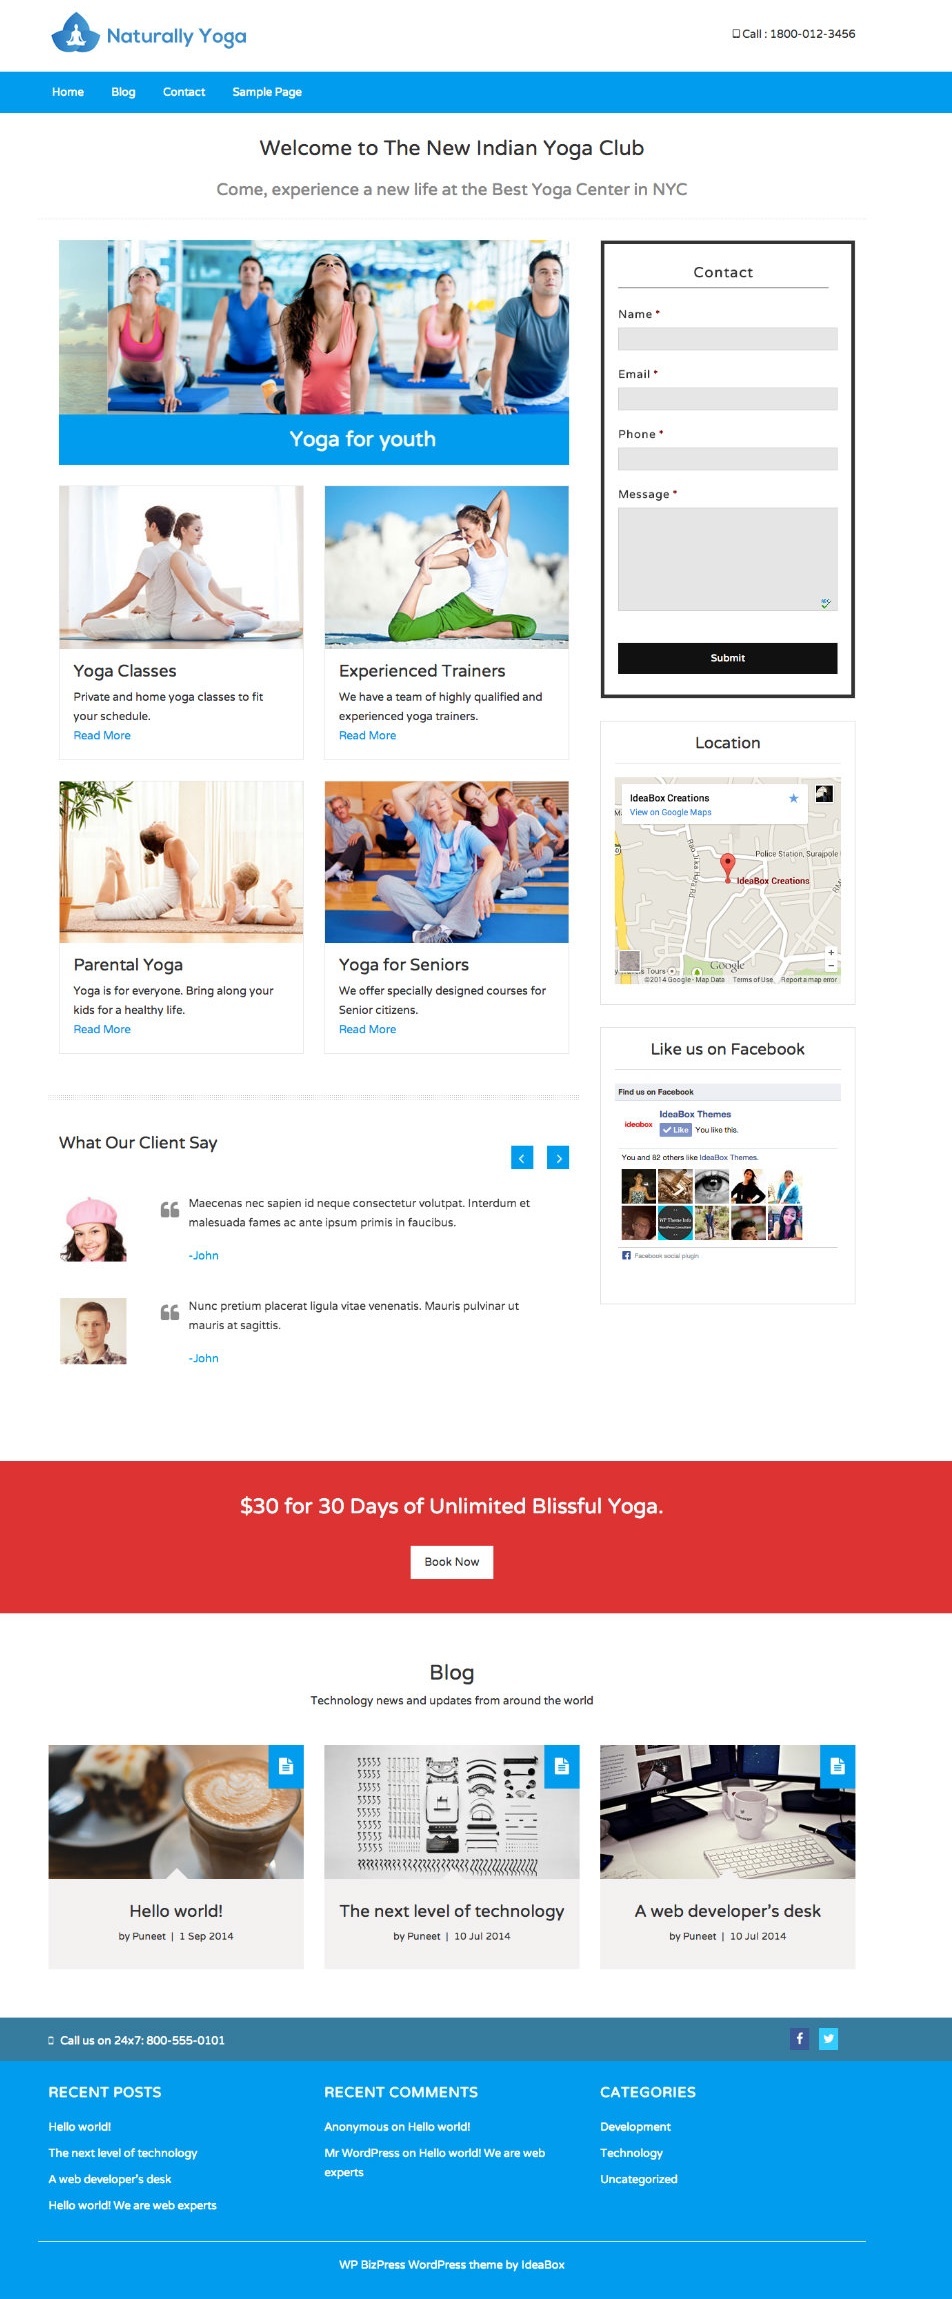
Once you’re done with the customization of the theme, Click on the Save and Publish button to save all the changes. Now your theme is completely customized and set on your website. After customization your website will look like below screenshot:
If you’ve any queries related to our theme or this tutorial then please feel free to ask via our support page or you can ask it in comment section below.
Zix says:
Such a nice theme looking very user friendly.Thanks for sharing this.