A contact page is an integral part of your website for visitor or customer communication. Ninja Forms is one of my favorite WordPress contact form plugins.

Ninja Forms is the free contact form creation solution available for WordPress. Ninja Forms allows you to easily create complex forms with drag and drop functionality. You can easily add Ninja Forms on your website with widget, shortcode, template function or append it automatically to the page you choose.
Features of Ninja Forms
- Manage, Edit, and Export form user submissions.
- Custom input masks allow you to restrict user input in your forms for things like phone numbers, currency, and dates.
- Export and Import forms and favorite fields.
- Email form results to any number of pre-determined email addresses, as well as specific messages to the user filling out the form.
- Anti-Spam field.
This article will cover step by step guide to create a contact form with Ninja Forms.
How to create contact form with Ninja Forms?
Step 1: Install the plugin
As with all WordPress plugins, getting started is as simple as searching for Ninja Forms in plugins and install the plugin. Check our previous WordPress guide to install a plugin.
Once the plugin is installed and activated you’ll see new Form menu in your WordPress Admin Area like below screenshot:
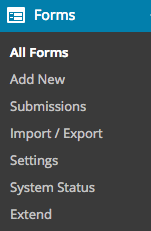
Under Form menu, you’ll see different option to create a form and set up that form on your WordPress website. Let’s see how to create a form.
Step 2: Add New Form
To add a new form on your website, click on Form >> Add New. The Add New Form screen is the place where all the power of Ninja Forms really lies. On the Add New Form Screen, you’ll find four options: Form Settings, Field Settings, Notifications and Form Preview.
Form Settings
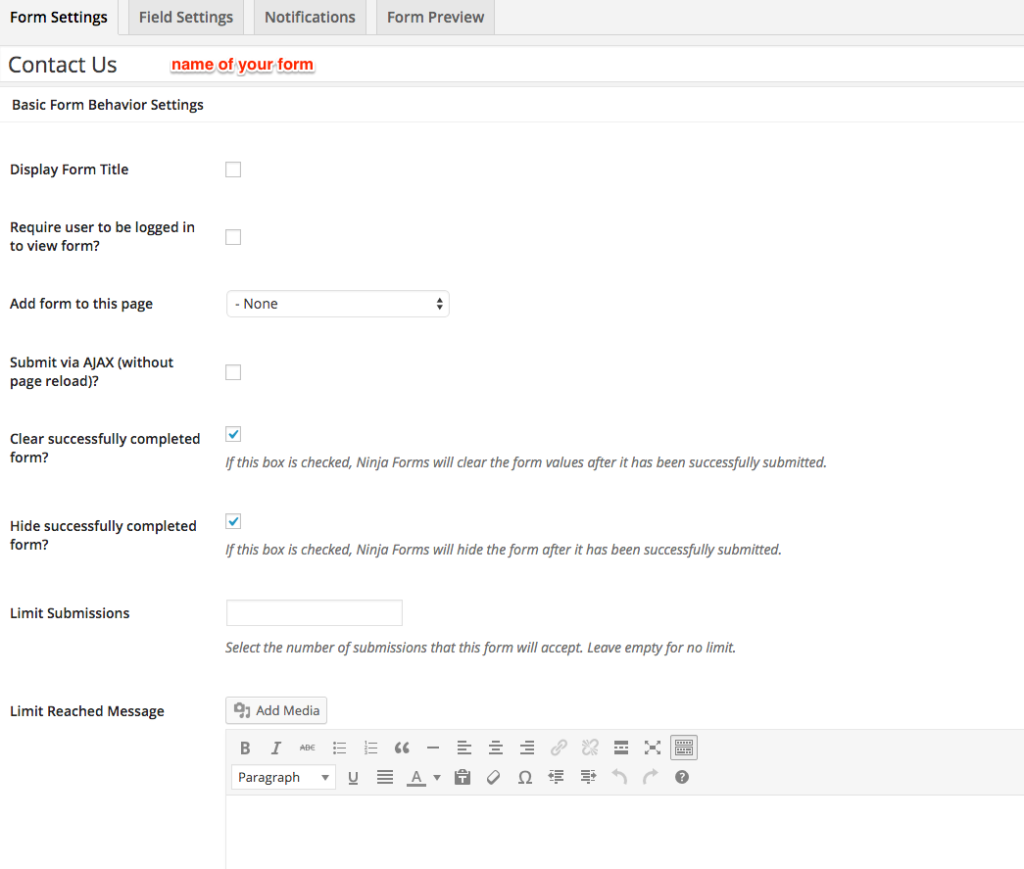
The first tab appear on the screen will be Form Settings tab. Here, you’ll need to enter the name of your Form in the big text field at the top of the page.
On the same page you’ll see lots of other settings too where you can display the form title and also enable the Require user to be logged in to view form option where only logged in user can view this form. You can also append the form to the page where you want to display your form.
There is also an option to limit the submission and if you set the limit you can also add the limit reached text which is further displayed to the user.
Field Settings
This is the section where you add the actual fields in your form. On the left side of the screen, you’ll see different types of fields that you can add in your form. Let’s add the fields and create our form.

On this screen you’ll see another slot of different options. In Label field you’ll enter the text that is going to be what the field actually contains like Name, First Name etc.
Set the label position according to your need. If you want the field to be displayed on the left then you can select Left of the element option. In above screenshot we chose Above element so it is looking like belopw screenshot:

Another important option is Required field that allows you to mark the required field in your form. Other options are not that much required. Still if you want to change some settings then change it according to your requirement.
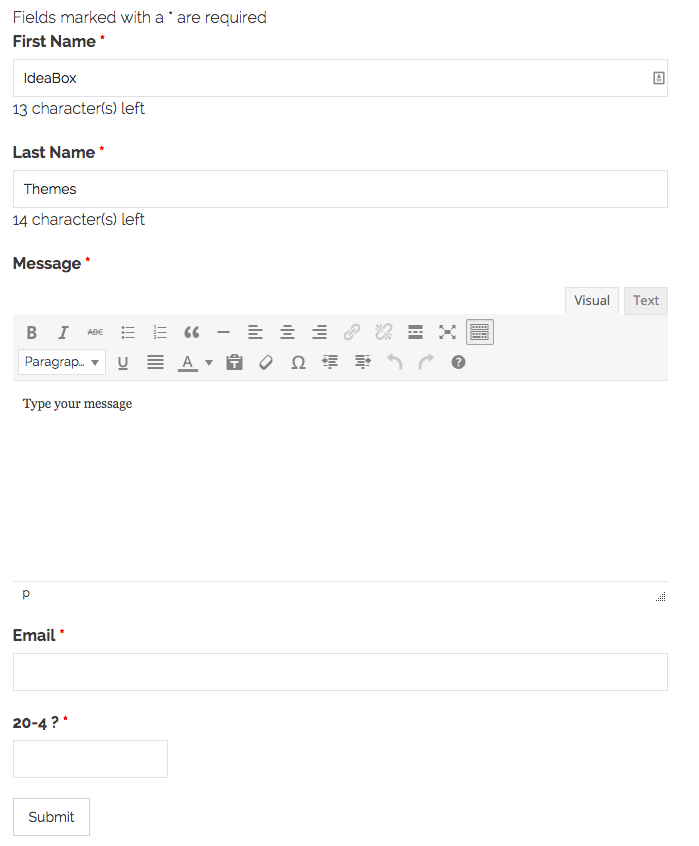
Similarly add the other fields you want to add in your form. Once you’ve got everything set up in your form, hit Save Field settings button. You can also preview your form by clicking on Form Preview button. Your form will appear like below screenshot on your site:
How can you use your Form?
Once you’ve completely designed your contact form you can use it anywhere on your website. Ninja Form offers you different options like:
Append a form
Suppose you want to display this form in a Contact page. Now what you’ve to do is simply edit the page. On the edit page screen you’ll see an option to append the Ninja Forms at the left of the posteditor like below screenshot:
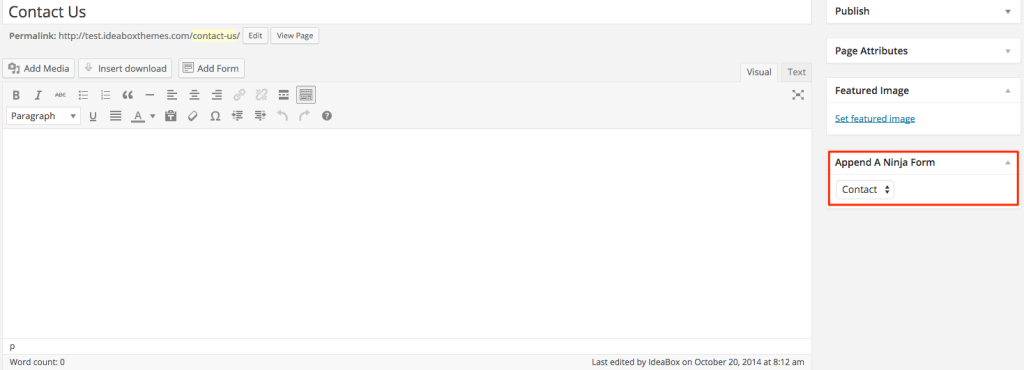
Select the form you want to display on the page from drop down that contains all the Ninja forms you created. It’s as easy as it gets.
Shortcode
Shortcode can be used to insert the form in any post or page. When you navigate to main Form page, you’ll see a list of all the forms with their shortcodes. Copy and paste the shortcode where you want to add this form. Your form will show up exactly where you want it to.
Ninja Form Widget
This option is mostly used for sidebar contact forms and a great way to generate leads. Simply drag and drop the Ninja Form widget to your widget area you want it in and select the field.
Ninja Forms is very easy, quick and fully functional form plugin that allows you to easily create contact form on your website. Moreover there are number of extensions available that make this plugin powerful and feature rich.
Andrew says:
Rebuilding our website, trying to use your plugin for the forms. I like it so far. One problem: I can’t find a way to make it email me the form submissions. I can’t even find any setting anywhere in any menu (plugins menu, or Forms menu) that allows me to put in an email address.
“Email form results to any number of pre-determined email addresses, as well as specific messages to the user filling out the form.” <— please let me know how to do this.
Thanks very much! Keep up the good work!