Paginated form or Multi-page form is the best way to condense large form into highly functional and user-friendly form that won’t scares your user and also increases number of submissions. Paginated form is mainly used when your form is too long.
When you create paginated form on your website, it will be represented in two or more pages. Gravity form allows you to create paginated form on your website. You don’t need to worry about the limited pages. You can create unlimited pages in your from.
In this article, we’ll show you how to create user-friendly paginated form on your website using Gravity Forms.
Create a paginated form with Gravity Forms
If you’re familiar with basic functionality of Gravity Forms then you can easily create paginated form within 15 minutes.
Step 1: Install Gravity Form plugin
Gravity Form is a premium, so you need to purchase the plugin. Once you purchased the plugin, you can upload it to your website.
After installing and activating the plugin, you’ll see the Form menu in your WordPress Admin Area like below screenshot:

Step 2: Create a New Form
Once you clicked on New Form, a pop up will appear where you have to enter your Form name and description.
Once you enter the form name and description, click on Create Form Button and you’ll reach to the page where you will design your paginated form.
3. Add fields
On the same page you’ll see different fields in the right side from where you can select your field you want to add in your form.
Now for paginated form select Page Break option from Standard Fields. You’ll see the result like below screenshot:
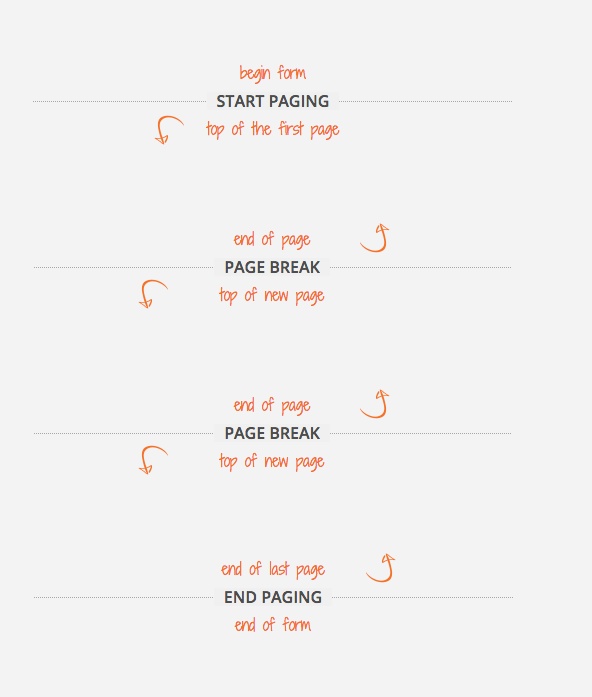
If you want to add two or more pages then every time you’ve to click on Page Break button which will create pages in your form. Before adding the fields give name to your pages. Simply hover the mouse on the field and click on Start Paging.
Note: The details of first page will always come after Start Paging field, details of second page will come after first Page break field and so on.
There you’ll get the option to name your pages like below screenshot:
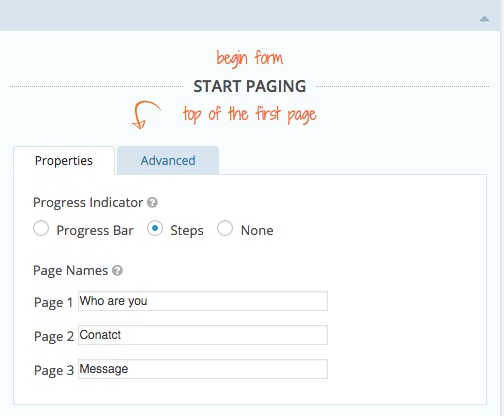
You can select the Progress indicator according to your choice. If you want to display progress bar then check the progress bar option else you can check Steps option which will display every page in steps.
When you hover on the other Page breaks you’ll see some settings like this:
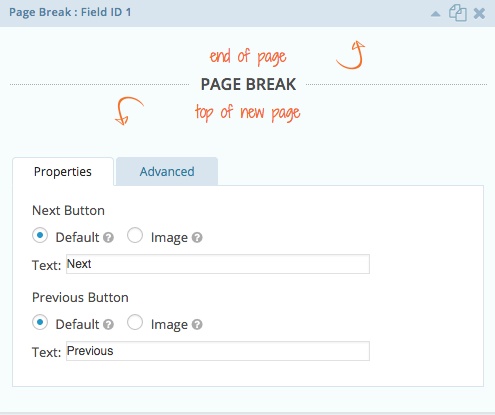
In these settings you can set the text of Previous and Next button or leave it as it is.
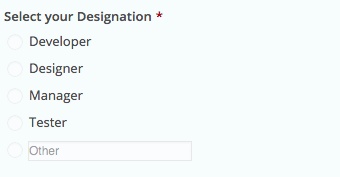
Now choose the field according to your requirement like we set the name of first page as Who are you so we add radio buttons and provides options to select who are they like this:
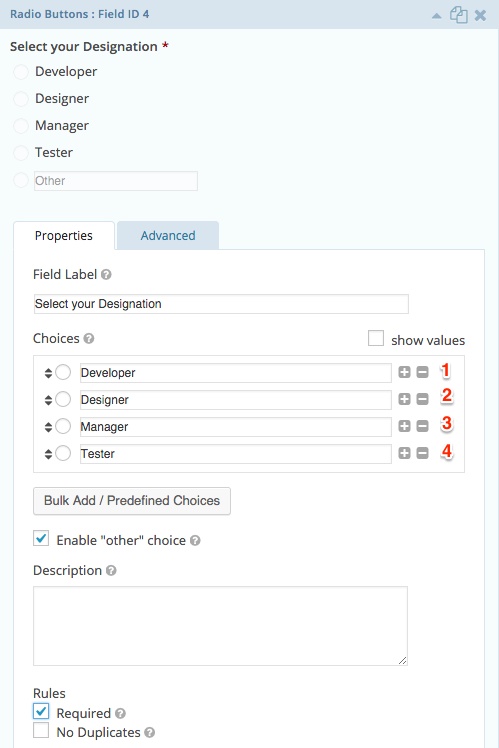
To change the settings of the field simply hover the mouse on the field and click on it as you can see in above screenshot. After set the required field the first page will look like this:
On the second page we add the fields that are required for contacting us like below screenshot:
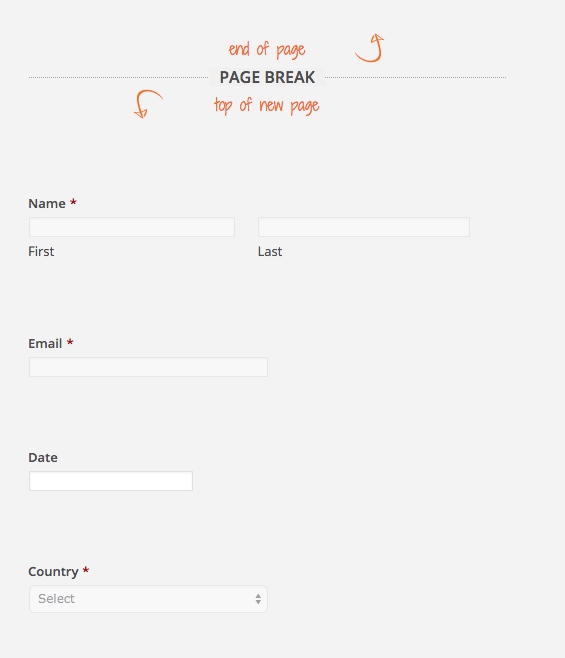
As you can see in above screenshot that we add name, email, date and country from Advanced and Standard fields. This is our requirement for second page and you can set it according your need.
Note: If your click on field and your field is add in another page then you can simply drag the field and put that field in the required position.
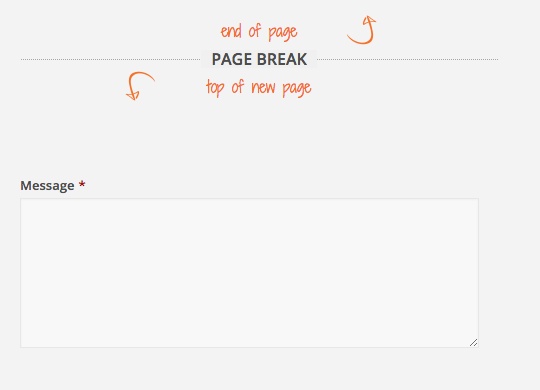
On third page, we added message field so that user can easily send his message to us like this:
Once you added the field of last page, you can’t add any field after the end of last page. Now click on Update Form button at the right side of your form. Once you updated your form, click on preview button to preview your form. The final result will look like below screenshot:
If users don’t select any field it will show error like this:
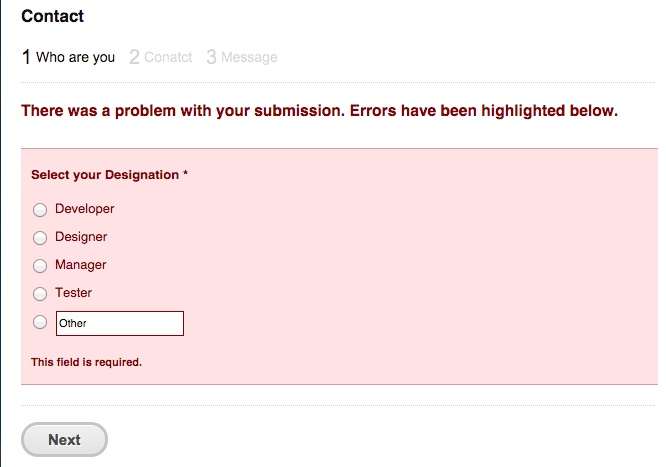
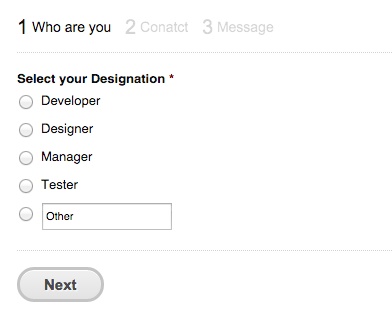
It won’t take you to the next step. Once user reached on the second page he will see result like below screenshot:
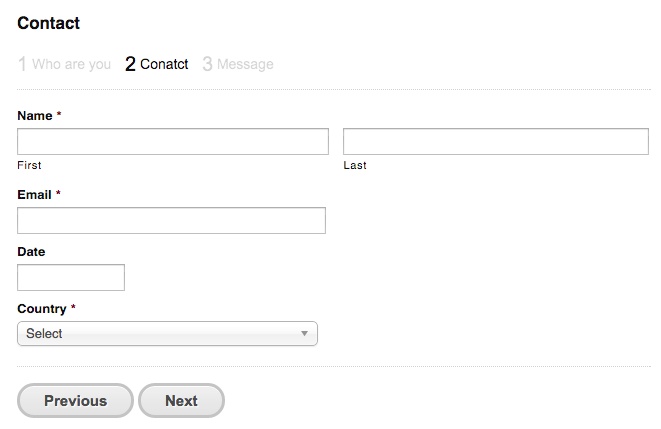
On this step user will see Previous and Next option.
That’s all you’ve to do to create a paginated form on your website. Did we miss something? Please share with us.